第一次写教程,可惜我的PS是英语,因此我只能够写英语了。 不明白的可以去Google Translate一下。If don’t understand, can leave message to ask me.
🙂
have a nice day.
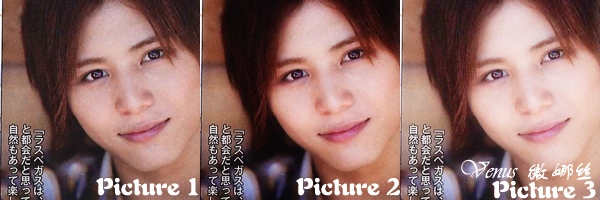
Picture 1 is the original picture
1。Arrange the picture at the favored place, at right hand side, right click on the picture and select “Duplicate Layer”.
2。Select “Filter” -> “Blur” -> “Gaussian Blur”, Radius: 5.0 pixels, click ok
3。At bottom right hand side “Layers” section, select “Soft Light” for the picture which had already been blur.
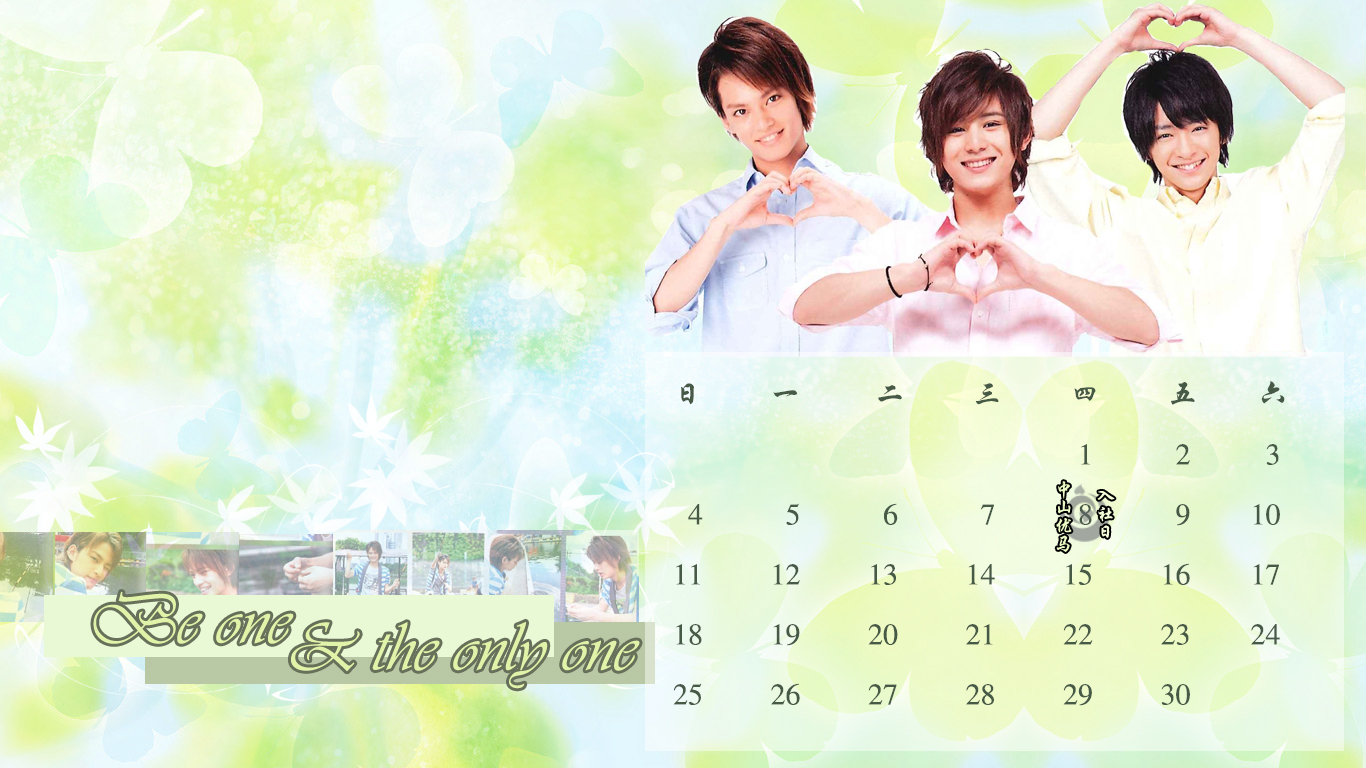
Done. (Picture 2)
If the output is dark,Please try the steps below
1。At bottom right conner there have 7 small icons, click the second icon from the right, that icon is create a new layer
2。At the top left conner, select “Edit” -> “Fill” -> “Use: While” -> “OK”
3。At the bottom right hand side, “Layer” section, select “Soft Light” Mode for the white layer.
ps: If too light, can adjust the “Opacity” from 100% to other percentage. (Opacity is located at the bottom right hand side, “Layer” Section.)
Done. (Picture 3)

 会像灵堂么..? >.<
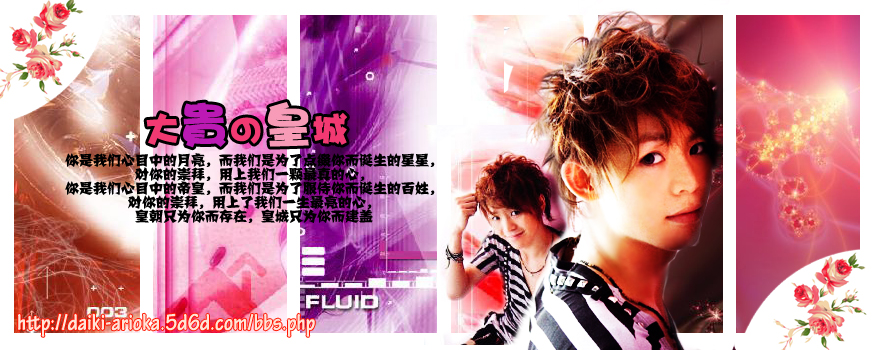 大家又觉得如何呢?<img src="/plugins/HC_Emoticons/emoticons/tuski/20.gif" alt="開心" longdesc="
 为什么小娃说第一次呢?
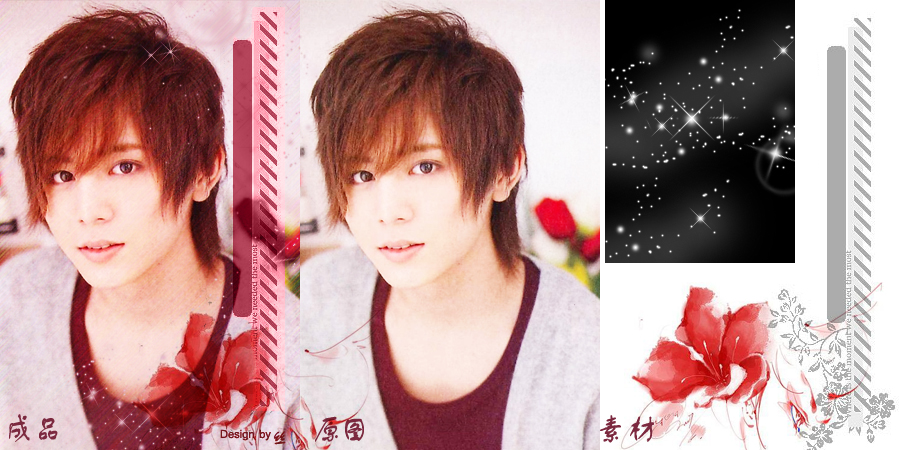
 其实小娃本身认为如果不加素材应该会更好呀~~
 加上签名,以及一点水墨画“调味”,整体感就很棒了。
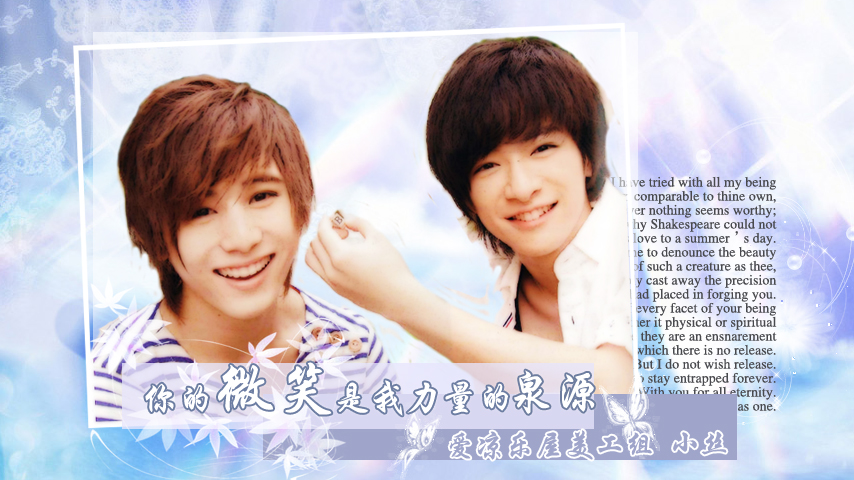
 两张都很简单的色条,清晰的感觉。
 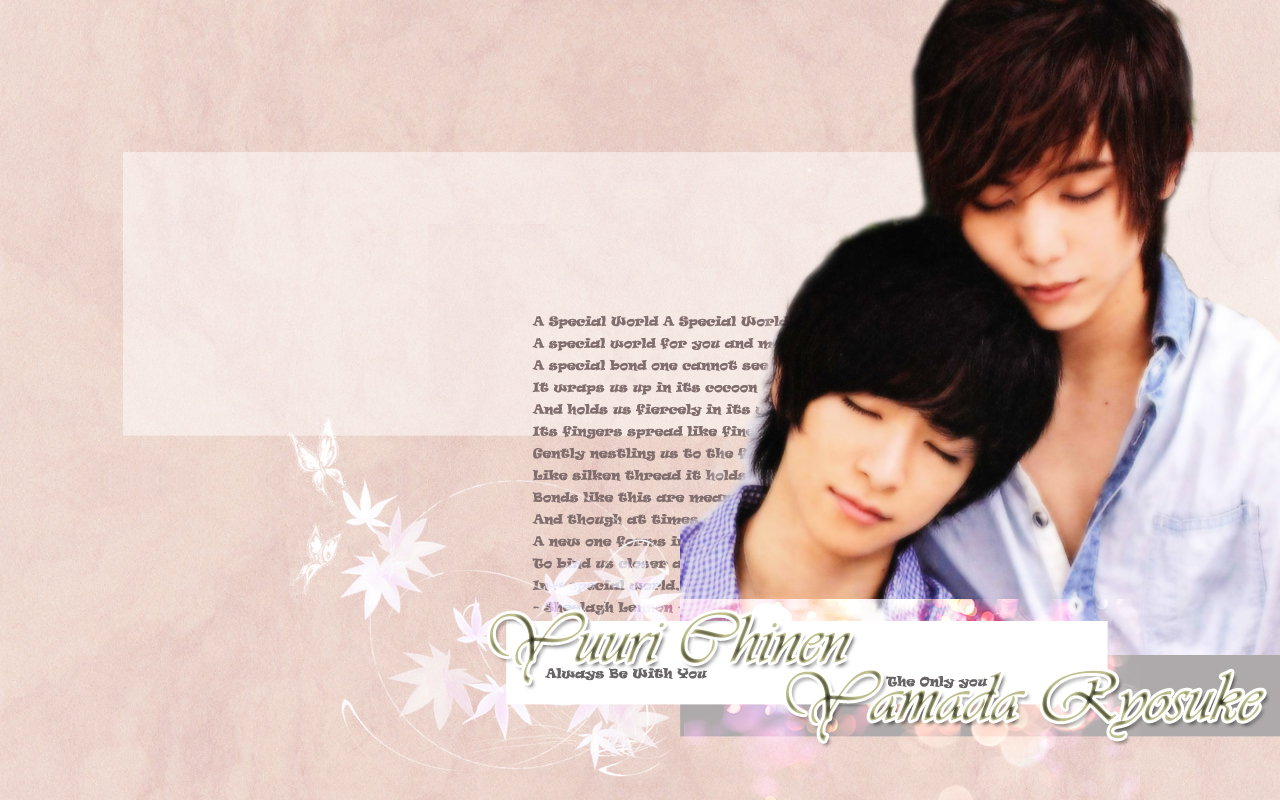 这个就是刚刚制作出来的壁纸。 上面的空位拿来放那些folder,左下角也是放几个folder。 左上角就放一些windows的apps (notes等)